轉載自 這裡
前言 :
在 Windows 中備份作業系統,我通常習慣使用 Acronis 的 True Image,使用它的光碟開機,就可以透過網路將整個作業系統備份到遠端的伺服器中,要還原也是透過網路就可以還原,就算裸機也沒問題。因為平常的工作就跟網管有關,所以也會特別的去注意作業系統的備份機制,此次 Windows 7 的系統映像備份,我還蠻喜歡的,雖然功能陽春,可是對我而言已經夠用,推薦給大家。
如何備份:
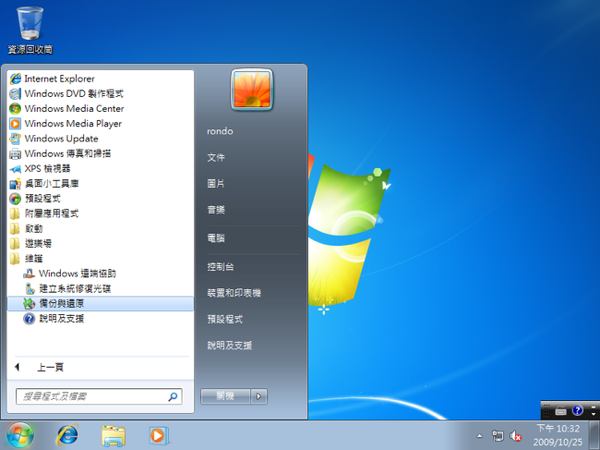
#如圖點選「備份與還原」。
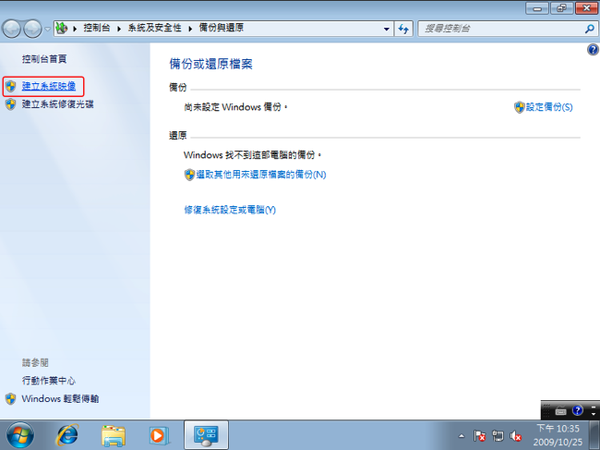
#點選左方的「建立系統映像」。
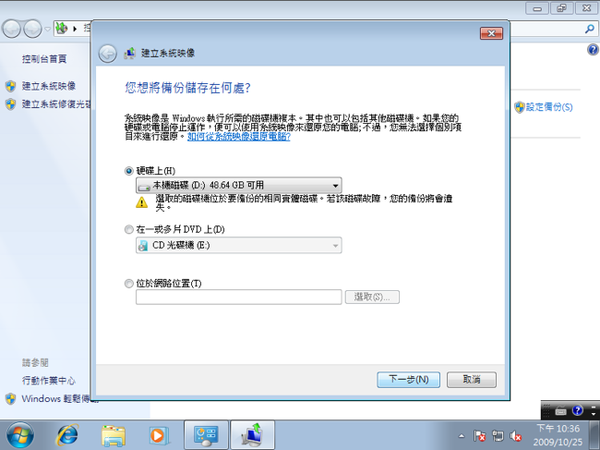
#選擇系統映像的儲存位置,可以儲存在硬碟、DVD,或是透過網路儲存到遠端的伺服器,這裡我是直接就儲存在 D 槽中。
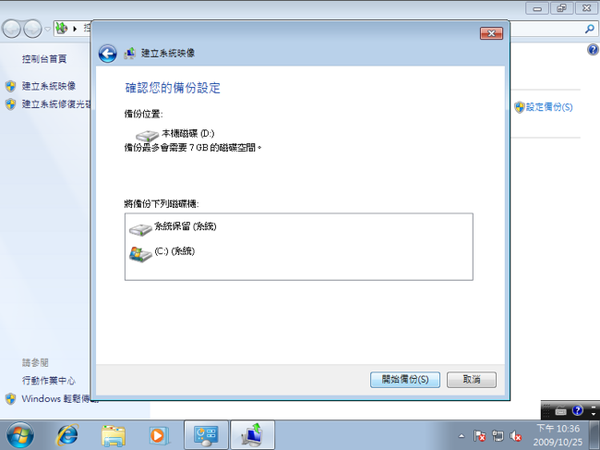
#確認畫面,按下「開始備份」,就會開始備份了。
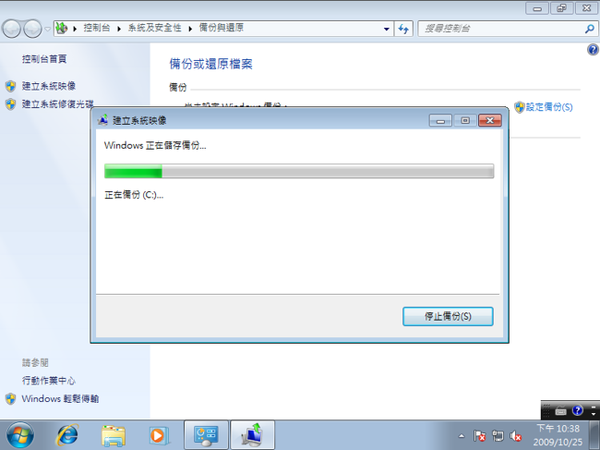
#備份中的畫面。
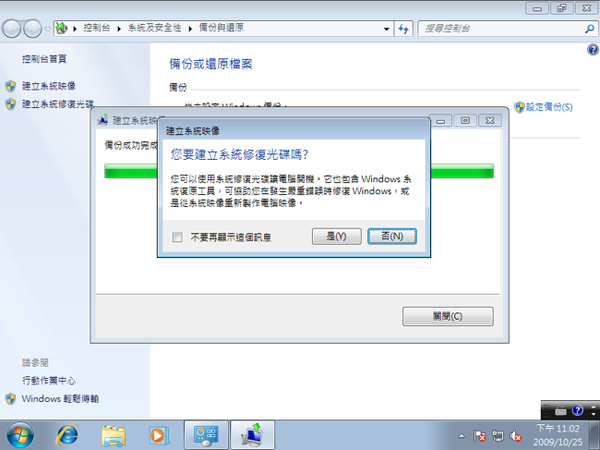
#備份完成後,會問我們要不要建立系統修復光碟,因為 Windows 7 的光碟就可以當做修復光碟,所以這裡就按「否」吧。
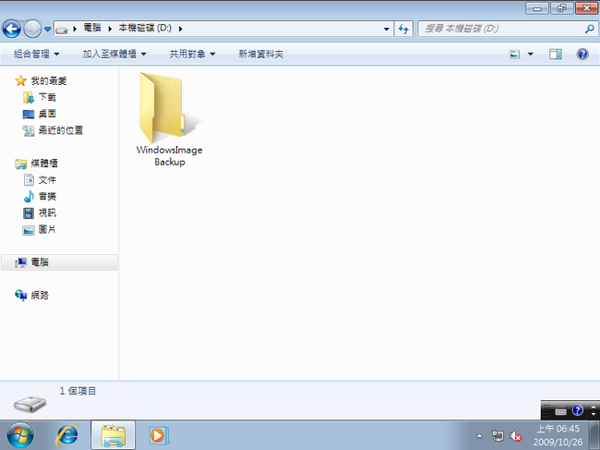
#這是備份出來的檔案,裡面有一個很大的系統映像檔喔。
當我們的 Windows 7 搞掛了,出現問題,就可以透過系統映像來還原喔,底下就看看如何還原。
如何還原:
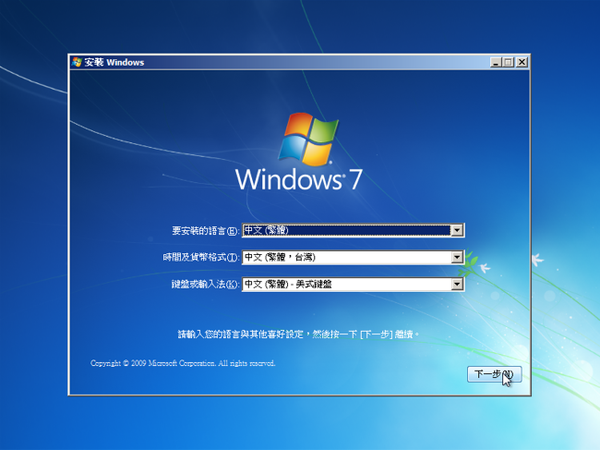
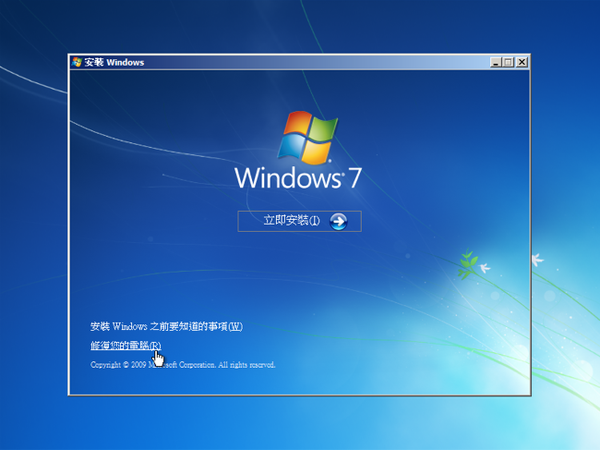
#使用 Windows 7 光碟開機,下一步。
#點選左下方的「修復您的電腦」。
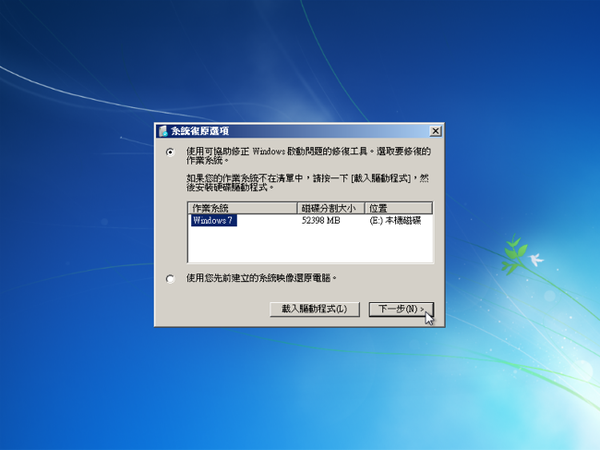
#點選下方的「使用您先前建立的系統映像還原電腦」,就可以選擇先前建立的系統映像還原電腦,不過我們先選擇上面,來看看 Windows 7 有提供什麼修復工具。
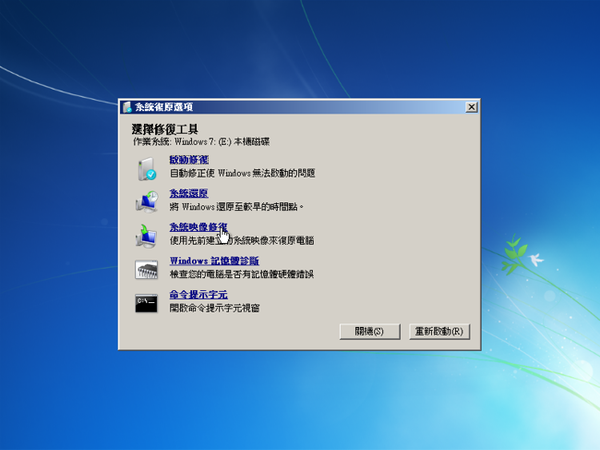
#這就是 Windows 7 所提供的修復工具,希望不要太常用到。
其中的「系統映像修復」,跟上面那張圖中的「使用您先前建立的系統映像還原電腦」選項是一樣的。

#系統映像修復,預設會自動去搜尋硬碟或光碟中最近日期的系統映像。
註:「選取系統映像」,可以手動指定要還原的系統映像位置,或是連上網路,透過網路還原,不過只有支援 \\server\share 的方式(SMB),沒有支援 FTP。
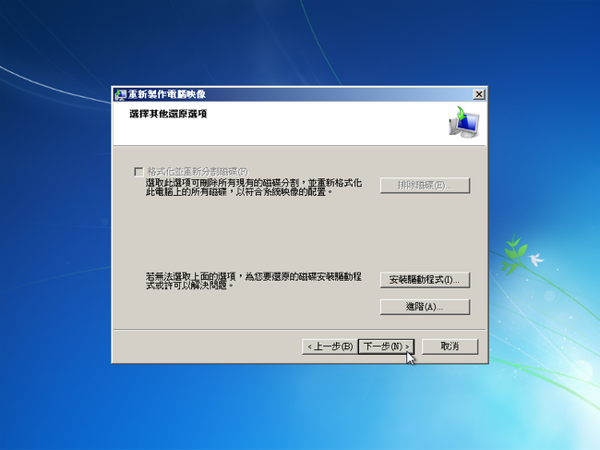
#因為我的系統映像是存在同一顆硬碟中的 D 槽,所以在還原的時候,無法重新分割硬碟並格式化,若系統映像是備份在不同顆硬碟,這個選項應該是可以選擇的。
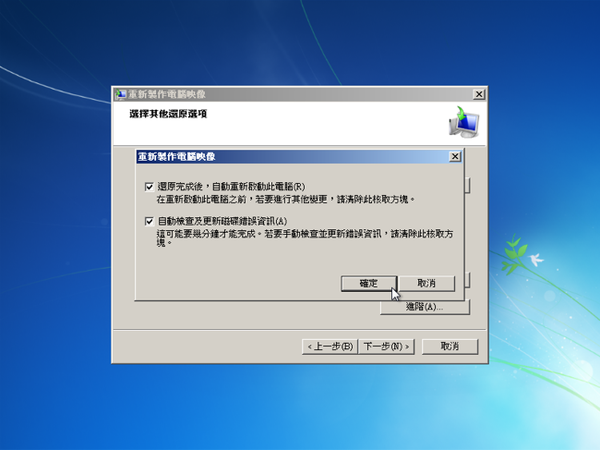
#這是進階的選項,預設都是勾選的。
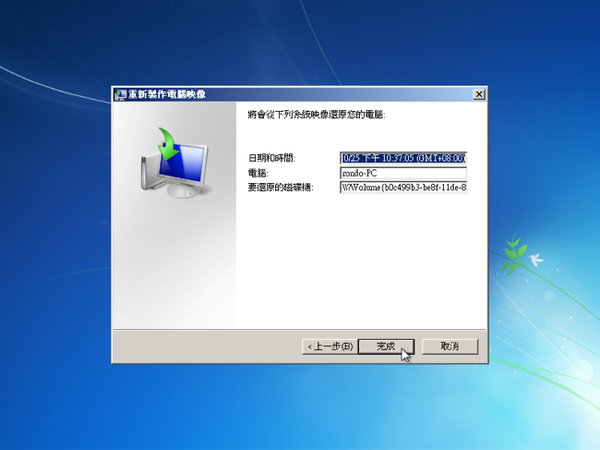
#按下「完成」,就會開始還原。
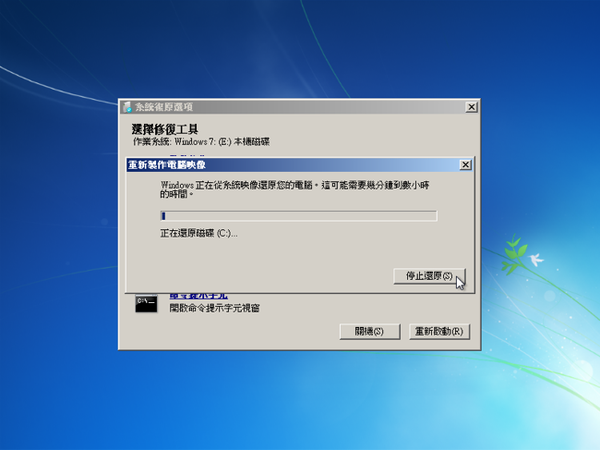
#還原中的畫面,還原成功又是一尾活龍了。
前言 :
在 Windows 中備份作業系統,我通常習慣使用 Acronis 的 True Image,使用它的光碟開機,就可以透過網路將整個作業系統備份到遠端的伺服器中,要還原也是透過網路就可以還原,就算裸機也沒問題。因為平常的工作就跟網管有關,所以也會特別的去注意作業系統的備份機制,此次 Windows 7 的系統映像備份,我還蠻喜歡的,雖然功能陽春,可是對我而言已經夠用,推薦給大家。
如何備份:
#如圖點選「備份與還原」。
#點選左方的「建立系統映像」。
#選擇系統映像的儲存位置,可以儲存在硬碟、DVD,或是透過網路儲存到遠端的伺服器,這裡我是直接就儲存在 D 槽中。
#確認畫面,按下「開始備份」,就會開始備份了。
#備份中的畫面。
#備份完成後,會問我們要不要建立系統修復光碟,因為 Windows 7 的光碟就可以當做修復光碟,所以這裡就按「否」吧。
#這是備份出來的檔案,裡面有一個很大的系統映像檔喔。
當我們的 Windows 7 搞掛了,出現問題,就可以透過系統映像來還原喔,底下就看看如何還原。
如何還原:
#使用 Windows 7 光碟開機,下一步。
#點選左下方的「修復您的電腦」。
#點選下方的「使用您先前建立的系統映像還原電腦」,就可以選擇先前建立的系統映像還原電腦,不過我們先選擇上面,來看看 Windows 7 有提供什麼修復工具。
#這就是 Windows 7 所提供的修復工具,希望不要太常用到。
其中的「系統映像修復」,跟上面那張圖中的「使用您先前建立的系統映像還原電腦」選項是一樣的。
#系統映像修復,預設會自動去搜尋硬碟或光碟中最近日期的系統映像。
註:「選取系統映像」,可以手動指定要還原的系統映像位置,或是連上網路,透過網路還原,不過只有支援 \\server\share 的方式(SMB),沒有支援 FTP。
#因為我的系統映像是存在同一顆硬碟中的 D 槽,所以在還原的時候,無法重新分割硬碟並格式化,若系統映像是備份在不同顆硬碟,這個選項應該是可以選擇的。
#這是進階的選項,預設都是勾選的。
#按下「完成」,就會開始還原。
#還原中的畫面,還原成功又是一尾活龍了。
This message was edited 4 times. Last update was at 23/05/2010 17:37:40

沒有留言:
張貼留言